Create, edit, or delete a group
Before adding users, create the groups to which they belong. Each group includes a set of roles and privileges for its users.
Create a group
To create a group and add privileges for the group, follow these steps:
-
Navigate to the Admin Settings by selecting on the Admin Settings tab from your profile.
-
Under USER MANAGEMENT select Groups from the side navigation bar.
-
Select the Create group button on the upper-right side of the list of groups.
-
In the Create group modal, scroll or use the left-side menu to navigate to the appropriate section of the dialog, and enter the details for the new user:
-
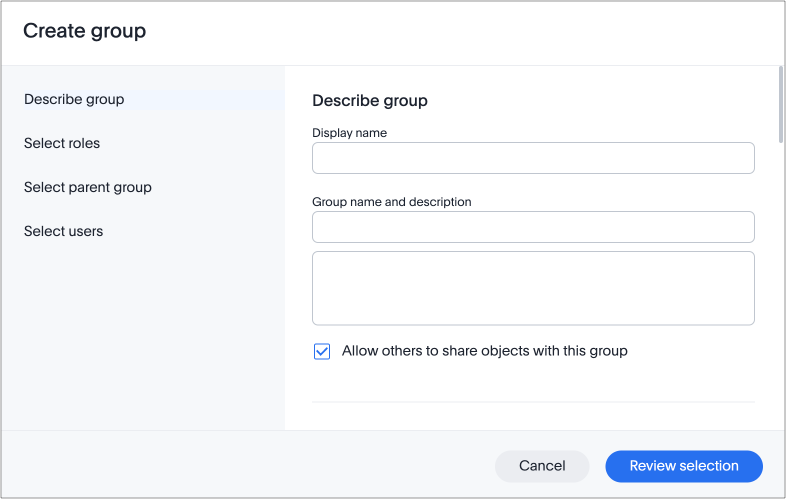
In the Describe group section complete the following:
- Display name
-
Name of the group as it appears in ThoughtSpot.
- Group name and description
-
Enter a unique name for the group and description.
- Allow others to share objects with this group
-
Indicate whether objects can be shared with this group. When set to allow, this group is an option in the Share dialog.
Allow others to share objects with this group is selected by default. Users belonging to this group can share with all users in this group by default. To disable sharing, you must deselect this checkbox.
-
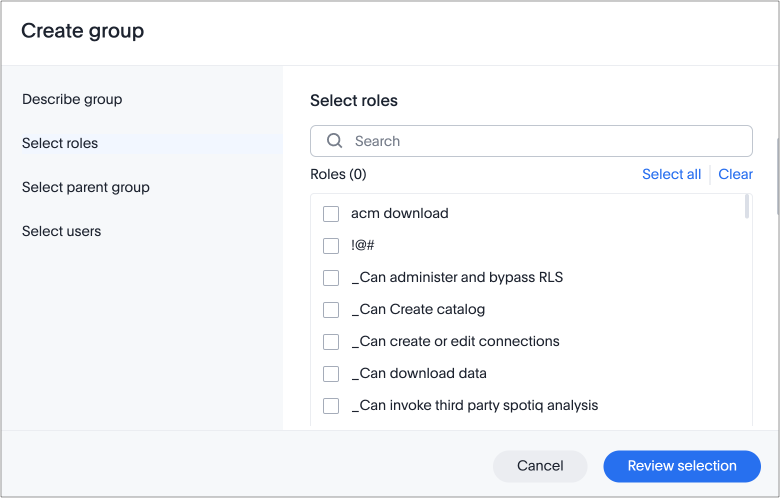
In the Select roles section search for and select the roles that you want to apply to the group.
-
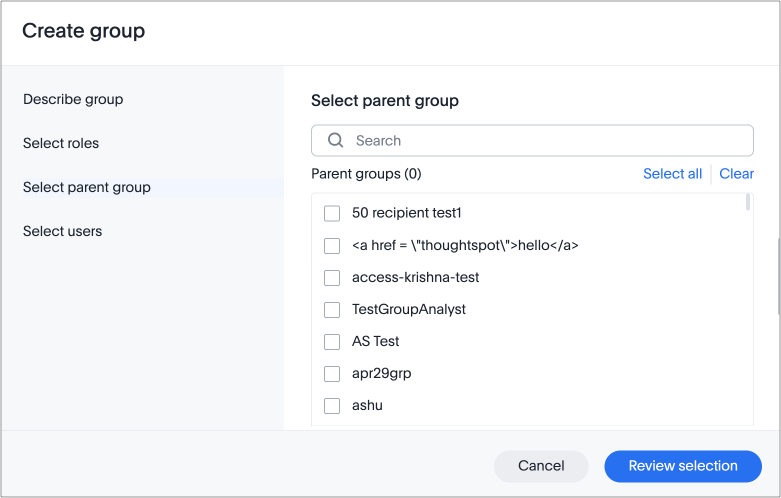
In the Select parent group section search for and select the parent groups that you want to apply to the group.
-
In the Select users section search for and select the users that you want to add to the group.
-
-
Click Review selection to review the details of your group.
-
Click Save to create the group.
Edit a group
After adding a group, you can edit its settings.
To edit an existing group, follow these steps:
-
Navigate to the Admin Settings by selecting on the Admin Settings tab from your profile.
-
Under USER MANAGEMENT select Groups from the side navigation bar.
-
Find the group you want to edit in the list, and select its name. Alternatively, click on the More options menu inline with the user you want to edit and select Edit.
If you don’t see the group name you plan to edit, try searching for it.
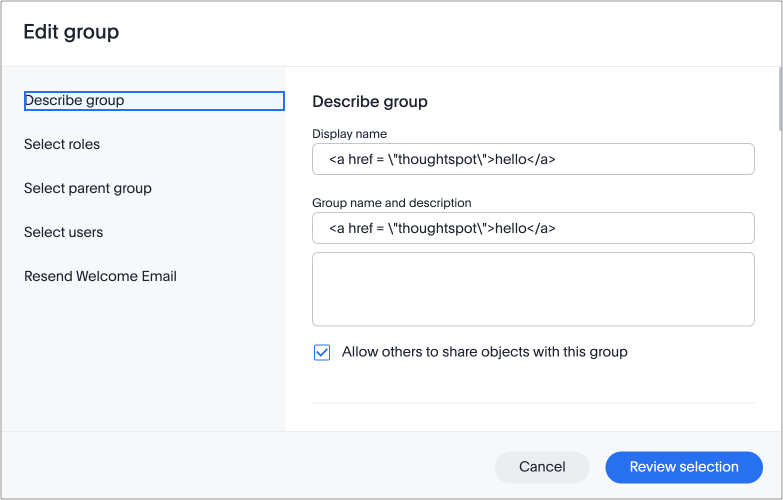
You can resend welcome emails to all users, or new users who never received a welcome email by selecting Resend Welcome Email from the left-side menu. 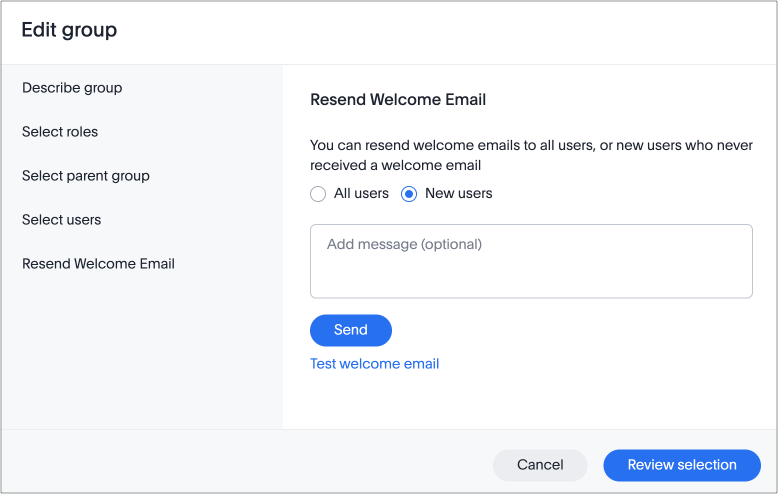
-
Make your changes, and select Review selection.
-
Review your changes, and click Save.
Deleting groups
To delete existing groups, follow these steps:
-
Navigate to the Admin Settings by selecting on the Admin Settings tab from your profile.
-
Under USER MANAGEMENT select Groups from the side navigation bar.
-
Select the groups you plan to delete by clicking the box next to the group name.
If you don’t immediately see the name of the group, try searching for it.
-
Select Delete in the upper-left corner.